
Motion Project: Animation Trials with Toon Boom
- j19031193
- Feb 3, 2020
- 3 min read
Updated: Feb 15, 2020
So we did our first animation with stop motion in class and we were told that we were going to have another class with adobe animate after 1 week break for Chinese New Year. Well 1 week is a lot so I figured out I would learn animation on my own during that time because I was really excited to try it out digitally and also because animation kind of stress me out because i've never done it. But as we're going do it with Adobe Animate already in class I wanted to try another software. And I heard of Toon Boom from my friend.


Well here's the first trial. I wanted to make him walk but I was having troubles re draw it over and over with the brush and it was becoming weird. So I just made him moving his hands and legs like that and added a peg to it to make it move across the screen like if it was flying. Then I thought of how to make it more interesting and I remembered of that black missile thing from Super Mario and I just added it there, this one was even easier, just 1 drawing on anther layer and add a peg to it and make it move.
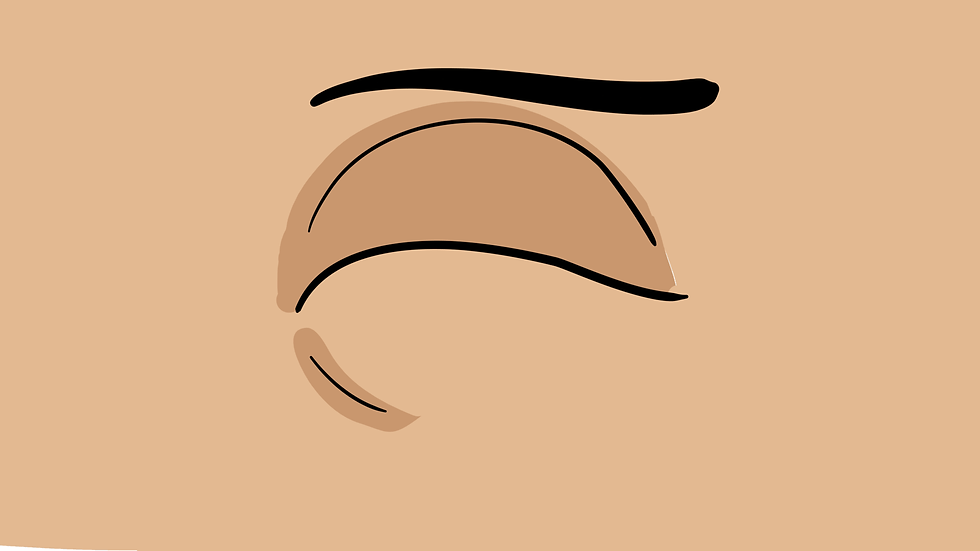
And this is my second trial. On this one I used the pencil tool instead of the brush and it was a lot easier to animate. I was trying the pose to pose method on it but it failed and gave me a lot of troubles because the way I wanted the eye to look when it is open was a lot different from the way it was when it was close so I switched to the straight ahead method. I also tried to animate the shadow I put on the eye lid. I'm really happy with this one.
Well I really like drawing humans so for my next one I decided to try it on a face.
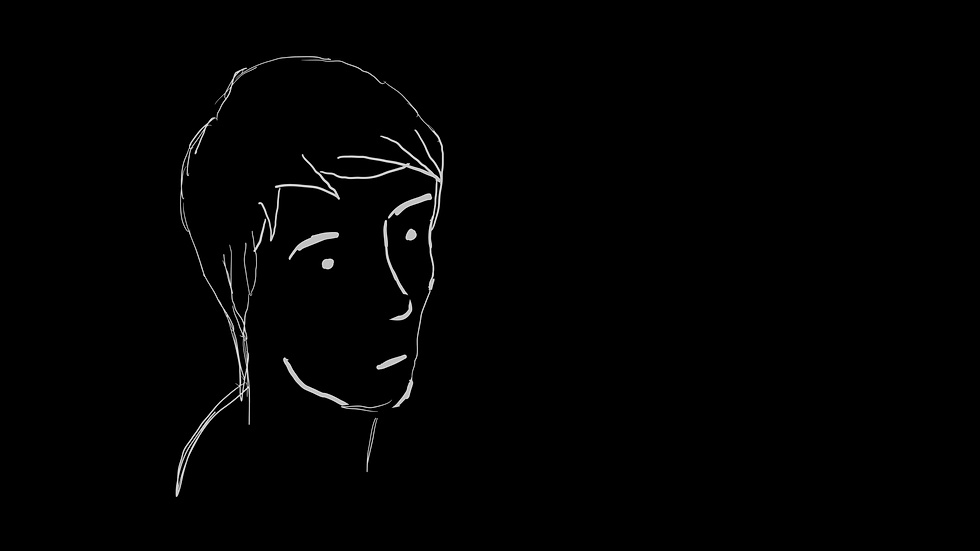
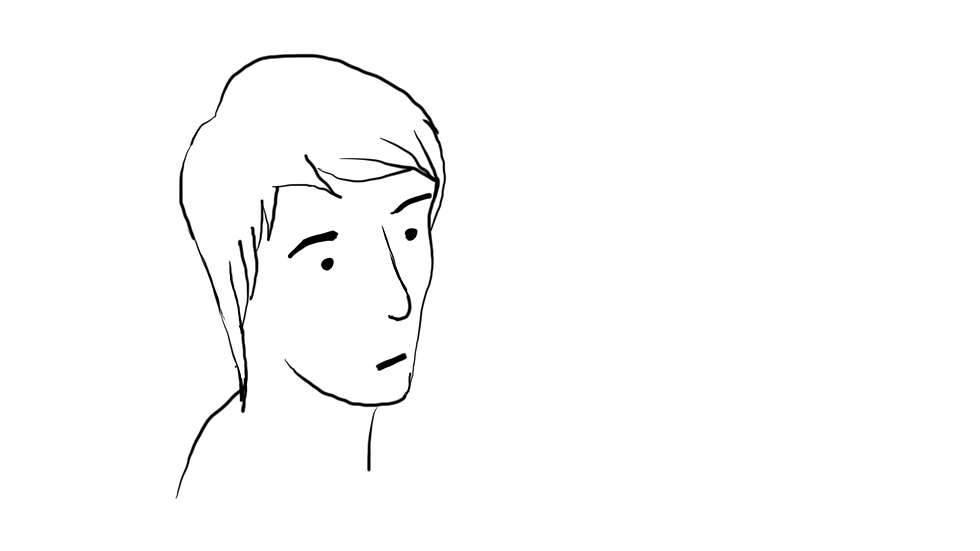
Here's the result. And here's after I cleaned it up
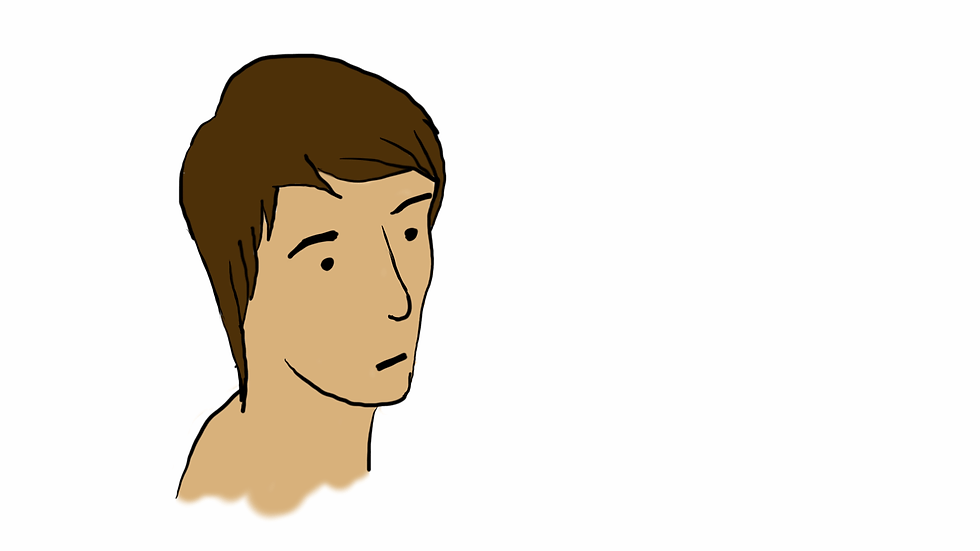
And now with colors. Oh I forgot to mention that this one I did on the bitmap kind of mode of Toon Boom. And for the line art also it was just sketching and I did not use transform tool on it because it on the bitmap layers the only tool available is the brush tool which gets really annoying when you're using the transform tool on it.
And at this point I wanted to add the light and shades using the brush itself to really emphasized the bitmap thing but I was kind of running out of time because it was becoming the end of the Chinese New Year week so I decided that I would do it later because I still had a lot of other works to do.
But I did had the time to explore another way of adding light and shade which seemed more practical for the motion project. It's the node method or I don't really know if there's other names to it. But it's basically go to the node view and add a volume, a normal map (which is where you can control the volume), and a tone and light shader. And you can move both the position of the light and the tone and this applies to all cells, no need to add shade and light individually on each drawings.
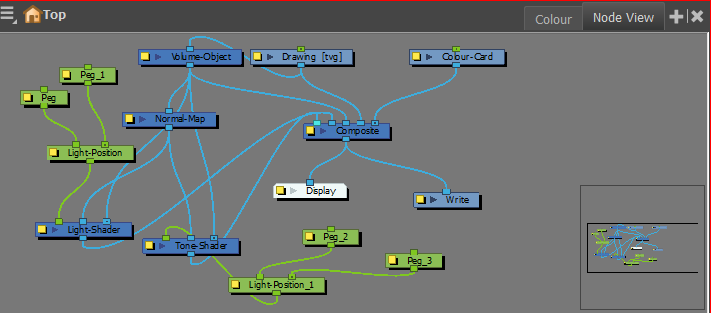
So this is what the node view looks like.

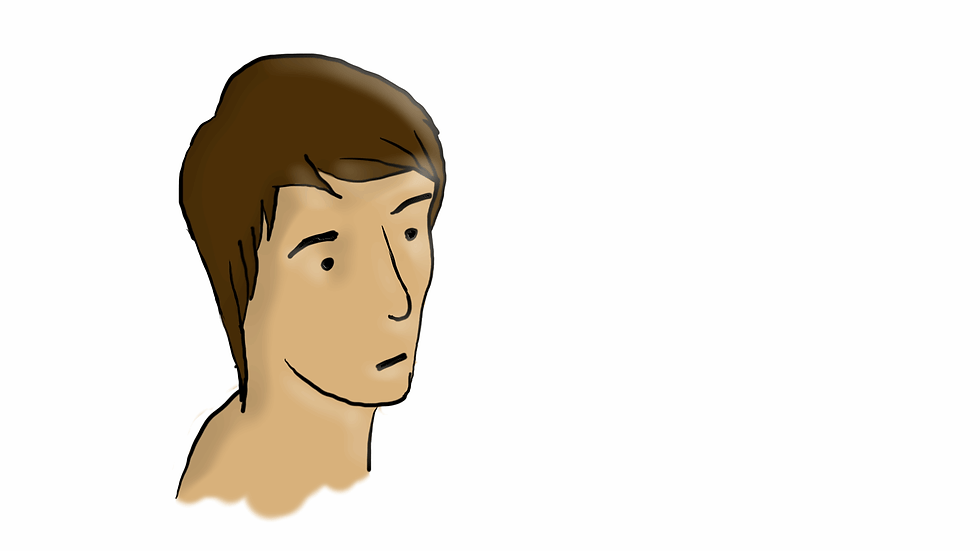
So this is what it did. on this one there were no shade and the light was a bit too blue so I had to adjust.

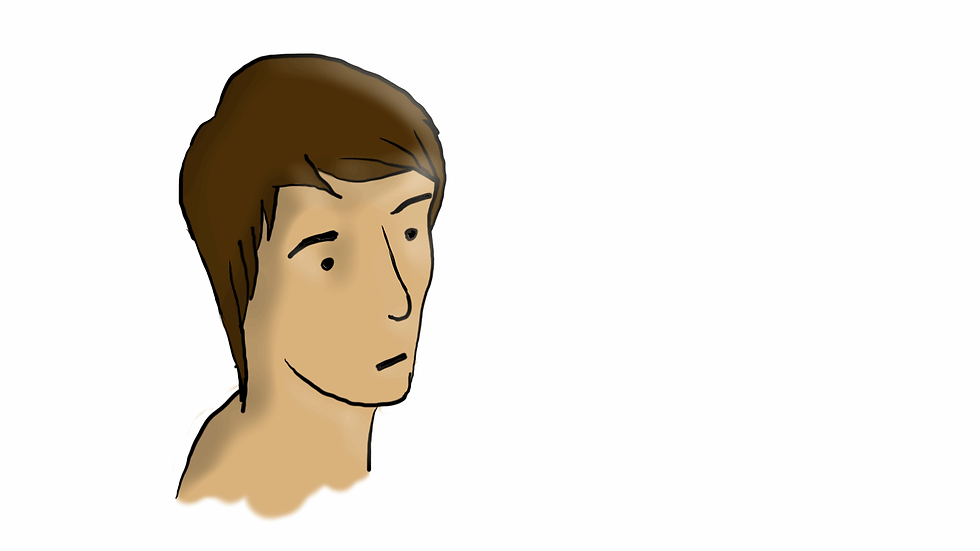
And here I corrected the light.
Added the shade...
And this one I tried a darker tone and tried to smooth out the volume and add some bump to it.
And this is where I stopped experimenting...


Comments