
Finishing Model, Setting up the Highlights and Clickables
- Ahseek Naseeb

- Feb 15, 2021
- 3 min read
Updated: Feb 19, 2021


Hell those mini items take sooooo much time to make, but that was the last ones and it was also pretty fun to do, so yeah this is how I made the dinning set. I decided to paint the wood texture because there were corvid cases in my building and I wanted to limit going out and it was also an opportunity to test my art skills after this long and it seems like I'm still good. 😂😂😂


After that I did a few trials for the arrangement with items and when I found one that looked nice I went had to go out to make print the floor of my model, I also took this chance to buy a pretty nice textured blue paper that seemed like it would look good with the green lamp and the plant for a wall. So I glued the items together on the floor and I also used a 100% organic cotton sanitary pad to make the table cover and the carpet.


Next I got some 100% organic cotton strings to make the electrical wires and I really loved the final look.


This was hell to do with the organic glue but I managed to glue the wall to the bottom and after leaving it for a whole day, and I think also overnight, (I forgot things happened so fast at this point) it held pretty well just like it would do with normal glue. Patience was the key afterall haha.


Then the part that I skipped for the trials, making the object tracker which is actually the easiest of all. I took several pictures, logged in wikitude and created an object tracker using object targets. Uploaded my images, waited patiently for some times 😪, and the object tracker was done. Then I just transferred it to unity and it looks really unpleasant on unity compared to on wikitude but yeah....


I exported it to try it but BAAMMM my wikitude license was expired 😂😂. So I tried to renew it but I was impatient so I tried to get another license with another account so that I dont end up wasting time and then the project continued on. It was a pain to try to figure what was where with just the dots in unity, I tried to put the code that allowed me to move the cube on the app but it was hard as well, however in the end I ended up being able to read the dots and placed the cubes in their respective place well.
Here's me testing out the tracker in different angles. Sorry for the noise btw. 😅
And this was me trying to figure out the proper scale for the information that will be displayed, these were absolute failures. I was also trying to figure out which layout looks better.


Other terrible failures...😶
This is me getting somewhere with the scale and finally getting a better idea of what layout looks better.
However I felt like the one with the window was more appropriate and that I didn't really needed to have the images so I tried this.
This one is with the window and once you click on it the red cube disappear on the object clicked allowing the audience to see through the window and when you close it the red cube appears again.
And just to be sure I sent it to my lecturer and he liked it too so I moved forward with the others and I just finished with them today, so I think during the weekends I should be done with the AR app.
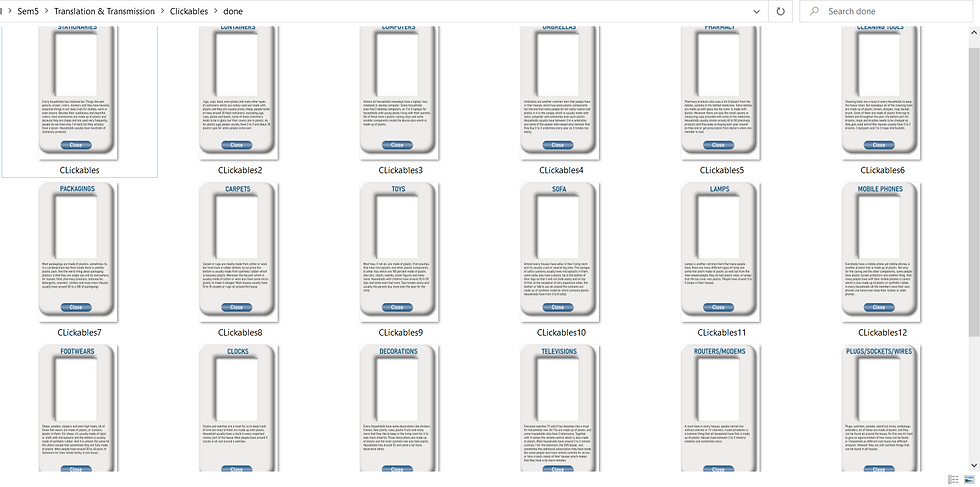
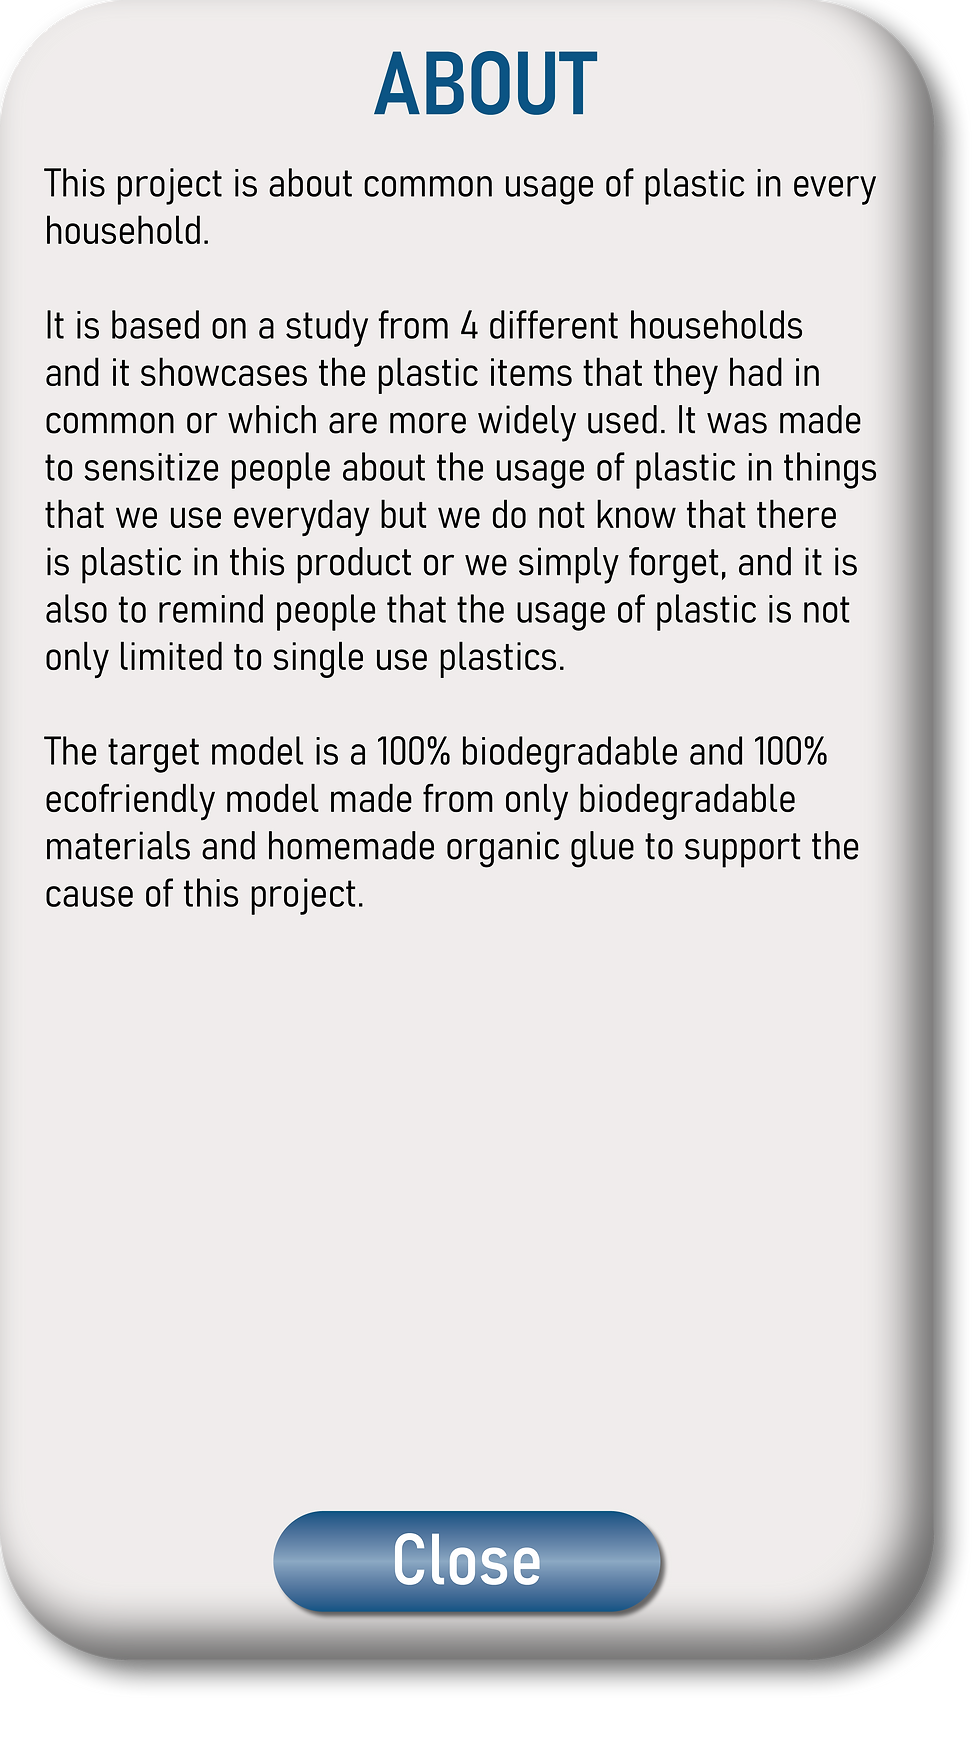
I also decided to add a small "About" page that opens up with the app that can be closed but I was thinking of not making any buttons on the screen to open this page up again so that the AR experience would not be too cumbersome.


Comments