Hidden Plastics
Infographic
Data Visualization Exercise
As a small experimentation, I tried to make a first photographic infographic based on my own food waste for a week. The reason why I wanted to make this exercise was because I wanted to make a photographic for my main infographic about the plastic but I have never made a photographic infographic. For this exercise I counted the amount of waste I was producing while cooking everyday and I collected some and stored them to use for the infographic.
Then I arranged the food wastes in a spiral form and took a picture of it and edited it in photoshop. I used colors to differentiate between morning, afternoon and night.


For the infographic I started putting the data from the middle because it looks like it's increasing and my food wastes was always increasing. What I found from there, because I do not own a proper camera, I will have a lot of trouble editing the images to make them into the length I need for the infographic while at the same time keeping the image quality. So I though for the infographic for my plastic project I will try to make the photographic items as close as possible to the infographic instead of relying too much on photo editing which might destroy my images.
Experimenting With AR
Learning AR was quite painful at some point. I used Unity and Wikitude because I wanted to make a multi object tracker and it's only way to do that. I also experimented with Vuforia engine but could not make multiple object tracker and it was not working proper as for the engine to create the tracker it has to be used with a Samsung device and I could not get one. The other problem I had was that there is many changes on Unity because it updates and changes a lot of settings a lot, so I had to research and fix the things that was not working properly.
After that I was able to created my first test app which was quite satisfying after all the failures. However I also had to explore on how to place the red box onto the object. I tried to use a code I found on the internet that allowed me to move the object in the app.
Hidden Plastics
However arranging it this way was harder as it's hard to control and I would have 20 more items to arrange this way. So I had to place it with trial and errors and these are how they looked after I made 2 trackers.


Working On the Button
After that I had to work on a button to make it clickable. This one was also challenging as you cannot use a 3D object as a button easily on unity. So I research and found a script that I was able to add to the cube to make it work as a button, however I did not have enough knowledge to make it work and I was able to make a PNG appear once you click on the cube but once you click away it disappears completely and you cannot make it appear again.
So I kept on learning and exploring several methods, I also dive into learning coding a bit but it had to be too specific and this made it really hard to manipulate as a complete rookie I could not understand at all. Another issue I was having was that the app became really heavy and was making my phone heat up really fast with only 2 object tracker, so this might create more problems for the future because I need about 20 trackers for the final piece. It was also not recognizing the second object properly in some angles
To fix the button I only had to add another button to close the image instead of making it "click away" to close. As for the multi object tracker I decided to make just one tracker on the whole model instead and I tried to make a quick mock up by just placing some objects in a box and create a tracker out of it.
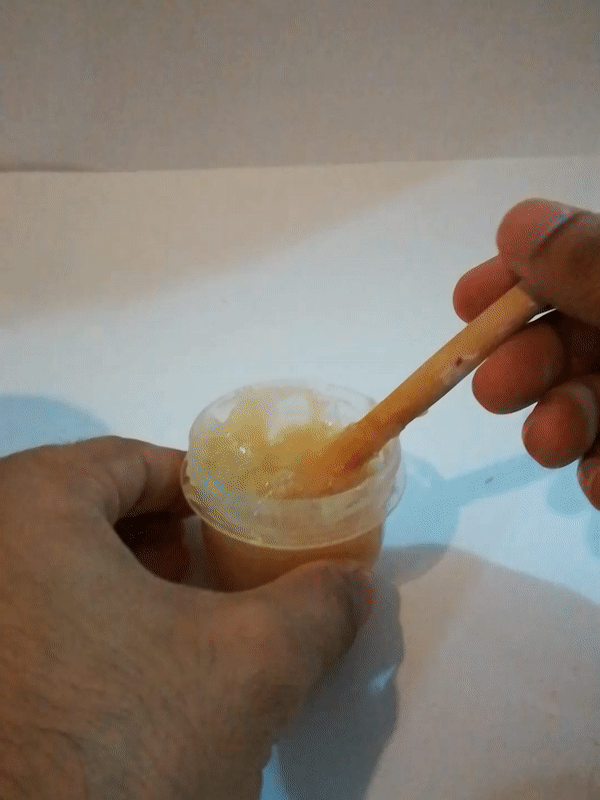
Experimentation With Glue
Afterwards I found that glue was not very eco-friendly (Breyer, M., 2020), so I started looking for how I can make my own glue and I found several recipes. I made them and conducted a small test with them to see which would fits my project better. I will labeled them A, B, C and D for the explanation.


A was made only with Flour and water, and it was the easiest and fastest to make.
B is cooked flour mixed with water, and it was easy to make also.
C is cooked flour, corn flour, baking soda, sugar and salt and it was a little bit hard to make because it had a lot measurements.
D is gelatin and milk and it was also quite hard to make as it had to be mixed with hot water and later on again with hot milk.
A
A got spoiled over night. And when it dried up, you can still see the white of the flour and it held better than I expected but amongst the other it was still the weakest.
B
B held better than A and was satisfactory enough for me to make a model with it. And great thing it did lot stay white, it became transparent. But it spoiled after only 3 days.
C
C was stronger with the cardboard but weaker with the thin paper, well I don't know if it was because of the way I applied it but I expected it to be stronger. However it's still better than B when gluing cardboard. C did not spoiled easily.
D
D to my disappointment dried up over night and I had to pour hot water in it and mix for quite a while for it to become glue like again. However it held way better than all the other glues. it even tear the cardboard when I tried to disassemble it. D was cloggy and messier than the others, so that's another disadvantage. Another disadvantage was that it also spoiled after 3 days. However I can use D for heavy duty gluing as it held better.
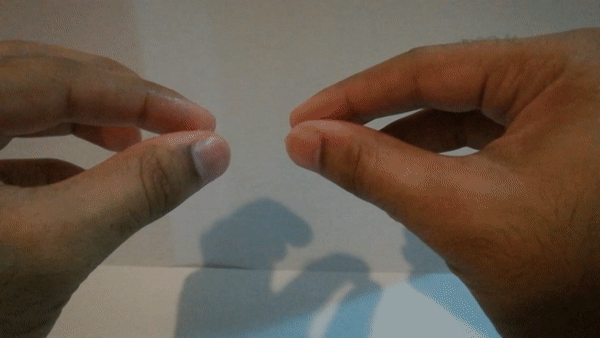
After testing the glues I made my first item as a trial using B and D and as you can see in the video below it held pretty well.
I was setting my mind up with B but that was before it got spoiled. So I ended up using C for the rest of my model instead as it was the only glue that did not spoiled after even 3 weeks.
Bibliography
Breyer, M., 2020. What Is Glue Made Of?. [online] Treehugger. Available at: https://www.treehugger.com/what-glue-made-4847390 [Accessed 24 February 2021].